Installing software without admin rights (staff / PGR PCs) #
These instructions only apply to department staff and PGR (PhD student) Windows desktop and laptop computers. To have software installed on lab computers and other remote compute resources (including Linux machines), please contact the CIS IT Support team.
Contents #
Overview #
In order to comply with cyber security best practice (and frameworks like Cyber Essentials Plus, which are becoming essential funding requirements), users do not have admin rights on their university computers for day-to-day use. However, most software can be installed without admin rights on staff/PGR Windows machines. You may need to follow specific installation instructions to perform a per-user install for some applications. The guide below details general approaches (like cancelling out of the UAC prompt, or choosing "Install just for me" in an installer) and some of the most common application-specific approaches.
If these approaches don't work, please contact us and tell us ...
- what software you require
- the reason you would like to install it on your computer
- your PCs hostname
- if the machine is a department-issued laptop
- which steps you tried below
... and we'll be happy to help.
Please note that any software installed must be regularly updated (in order to comply with university cyber security policy) and licensed for your specific use case (for example, trial or non-commercial-use software may not be permissible depending on your project/work). If in doubt, please contact us and we'll be happy to advise.
General guidance #
Install just for me #
In many cases, installers give you the option to install for everyone (system-wide, which requires admin rights) or just for yourself. This option is usually in one of the first few pages of the install wizard, and looks something like this:
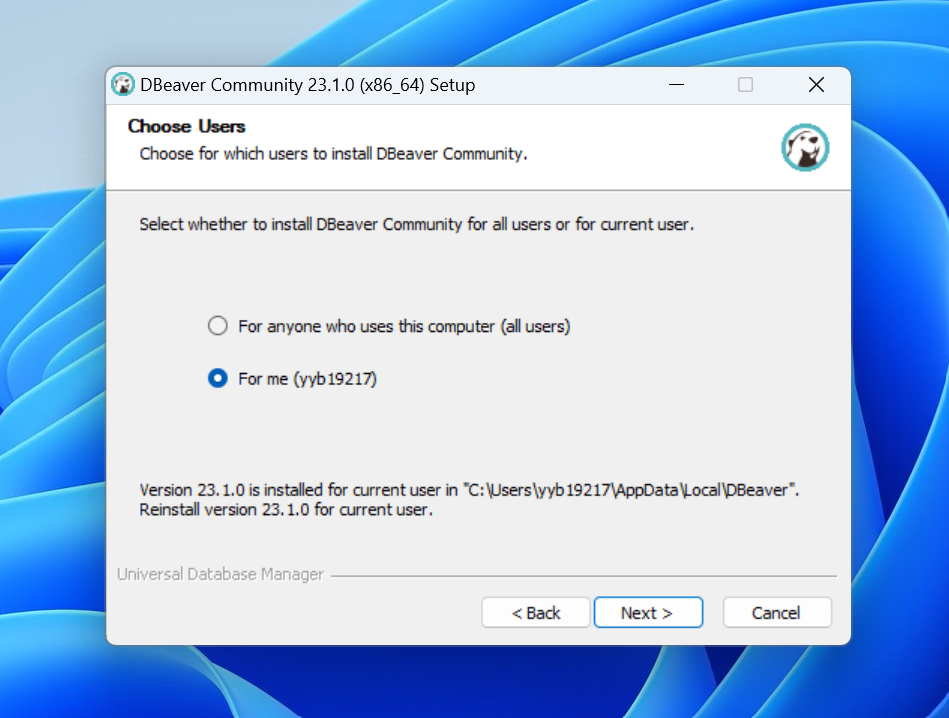
Choosing this option will install the software to your own profile (usually somewhere in your %APPDATA% path), and doesn't require admin rights.
The option will sometimes be labelled ...
- Install just for me
- Install for this user only
- Install for aaabbbbb (where aaabbbbb is your username)
... but is usually referred to as the "just for me" option.
In general, this is the best way to install software on your machine as it will allow automatic updates to be applied.
Software Center #
Software Center is effectively the enterprise version of the Microsoft Store; it allows you to install applications that have been specially packaged by the university without requiring admin rights.
The Software Center now includes a large number of packages for instances when the install just for me method outlined above does not work, for example:
- Adobe Digital Editions
- Arduino IDE
- Blender
- BlueJ
- EndNote
- GIMP
- Ghostscript
- Git
- GitHub CLI
- GitHub Desktop
- Google Chrome
- Google Earth Pro
- IrfanView
- JetBrains IntelliJ IDEA Community Edition
- JetBrains PyCharm Community Edition
- Logi Options+
- Microsoft Power BI Desktop
- Microsoft Teams
- Microsoft Visual Studio Code
- Mozilla Firefox
- Node.js
- Notepad++
- Nvivo
- OBS Studio
- Obsidian
- Postman
- Python
- R Studio
- R for Windows
- SPSS 30
- TeXstudio
- Vagrant
- Visual Studio Community
- Zoom
- Zotero
New packages are added regularly, so please check back if a package you require is not yet available and cannot be installed by other means.
To use the Software Center, first make sure your connected to eduroam, the wired campus network or the VPN. Your department issued laptop should already have the VPN client installed and configured for use off-campus.
Next, click the Start menu and search for software center (note the US English spelling "center") and launch the application:
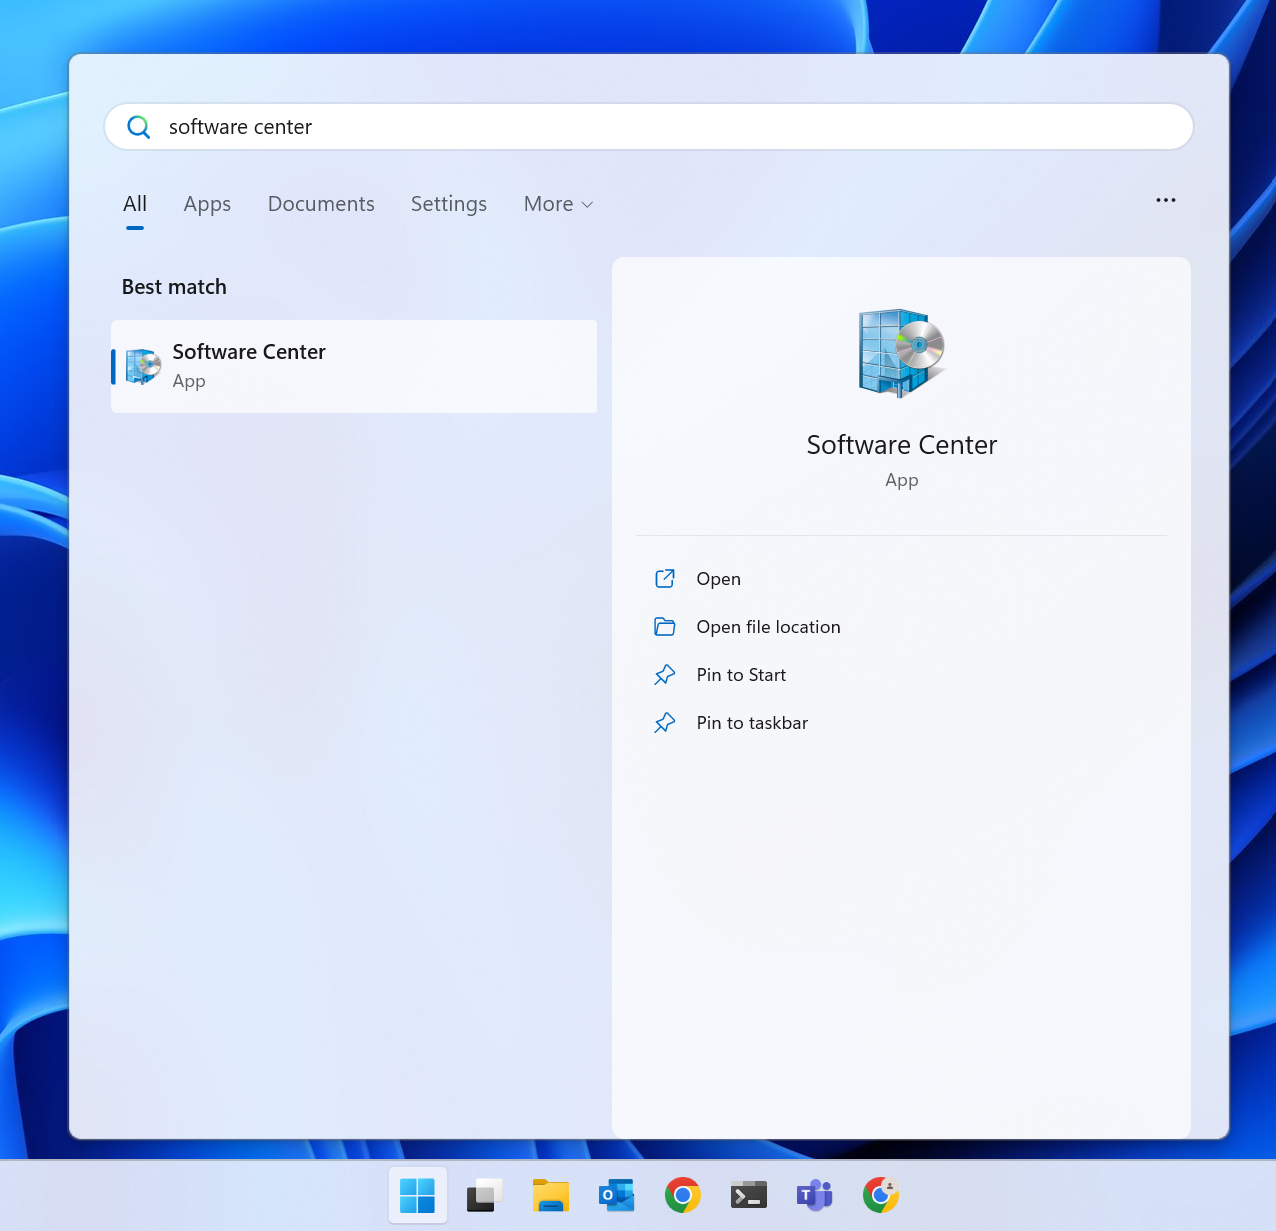
You'll now be presented with a list of available packages:
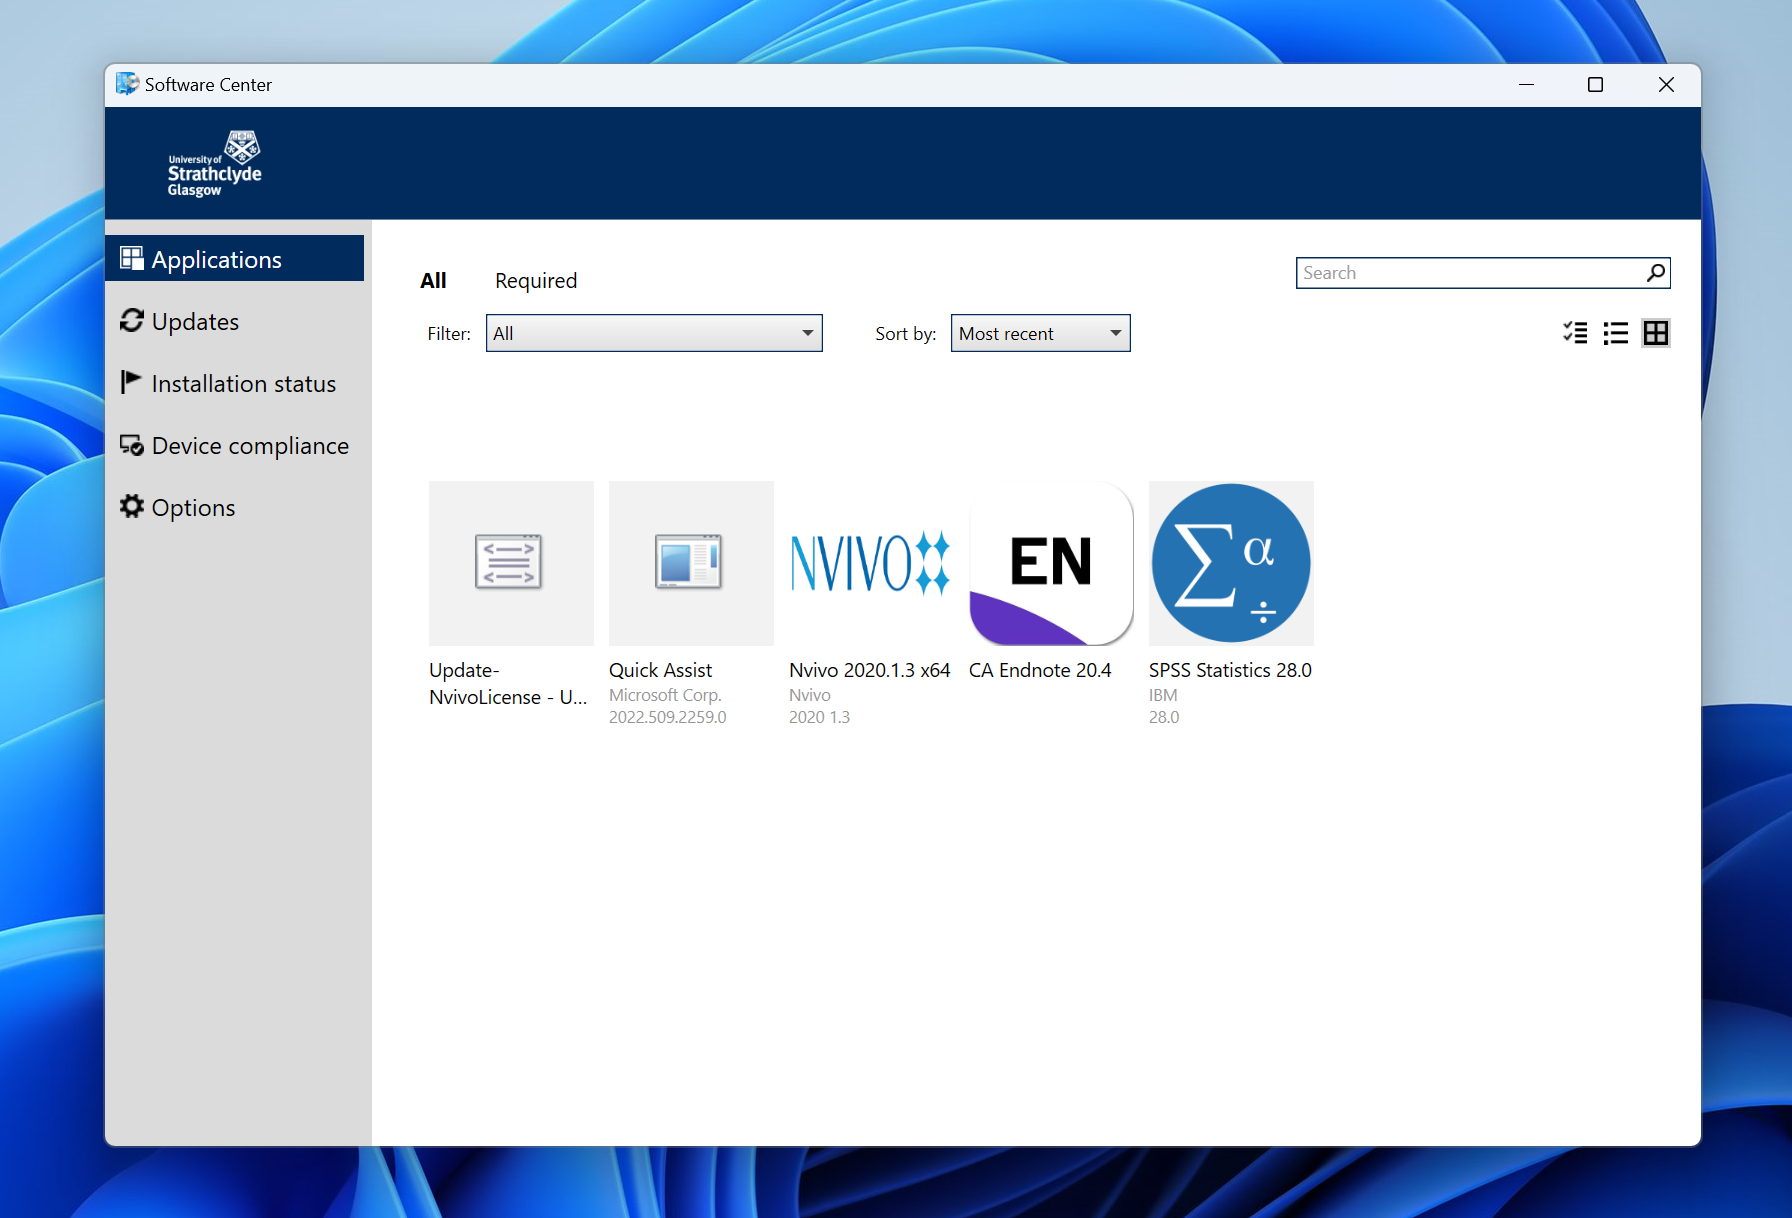
Choose a package, then click the Install button. It can take some time for the package to install (particularly if it's large), so please stay connected to the university network (i.e. don't put your computer to sleep, or disconnect from the VPN if connected) until the process completes.
The UAC prompt #
UAC (User Account Control) is a Windows feature which allows processes to ask for elevated permissions in order to write data to system-wide folders (like Program Files) or make changes to system configuration (for example, adding a network interface).
When a program tries to perform a privileged action like installing an application for all users, as a regular (non-admin) user, you'll usually see a prompt like this:
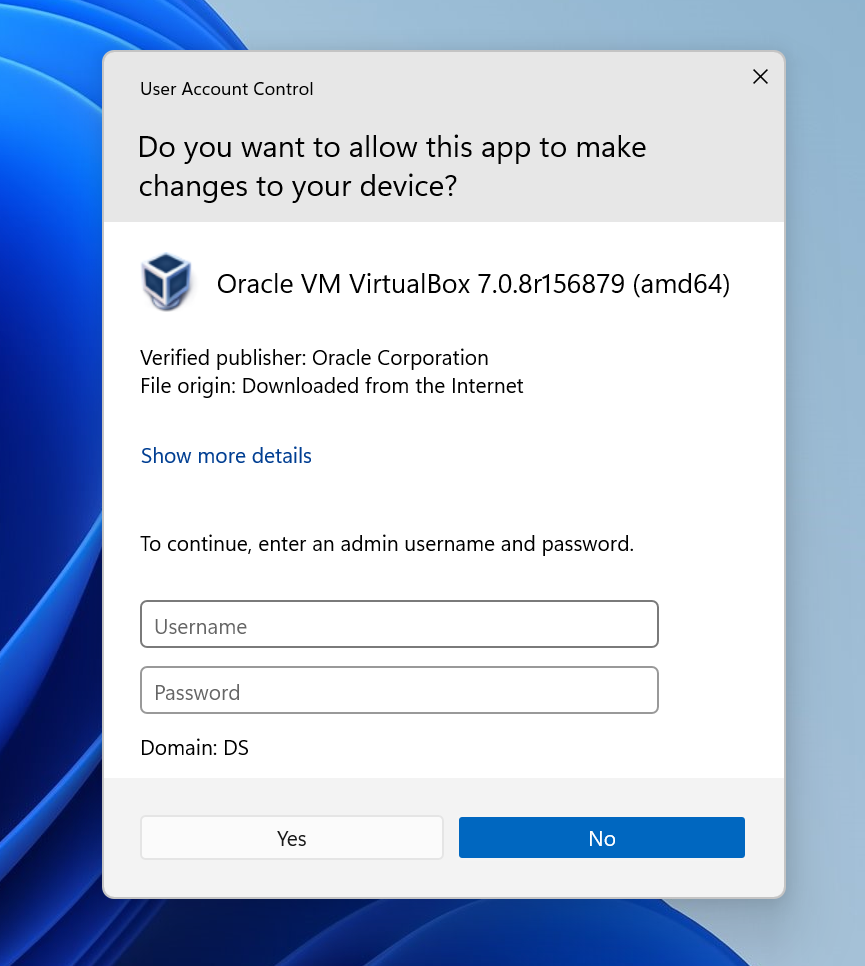
This window is referred to as the UAC prompt or elevation prompt.
In many cases, cancelling out of a UAC prompt shown by a setup program (by pressing No) is recognised by the installer as a signal that you want to install the software only for yourself - not system wide.
In the first instance, if you see a UAC prompt, you should try cancelling out of the prompt by pressing No. If the installer immediately exits without giving you a just for me option, try one of the other methods below.
Portable packages #
Some vendors offer a portable package for their application. This is generally a zip file which can be extracted anywhere and run without admin rights. If you download a portable package, you should extract it somewhere sensible (for example, by creating a new Apps folder inside your profile or Documents directory and extracting here).
You should only download portable packages from official sources (such as the Notepad++ or VLC websites) and not from portable package collections which offer downloads for lots of different, repackaged third party software. There are fewer guarantees about authenticity of packages in portable app collections and more risk that a third party may have tampered with the package to inject malware or adware.
Software specific instructions #
Nvivo #
Nvivo is available in the Software Center. Please follow the instructions above.
EndNote #
EndNote is available in the Software Center. Please follow the instructions above.
SPSS #
SPSS is available in the Software Center. Please follow the instructions above.
When choosing the SPSS package from Software Center, we advise choosing the "SPSS 30 Non Network License" package as this will allow you to use SPSS when off-campus and not connected to the VPN.
Microsoft OpenJDK #
You can install Microsoft OpenJDK by downloading the zip package from the Microsoft website and unzipping it somewhere sensible like your Documents or user profile folder. You should choose an LTS version as these have the longest support cycle.
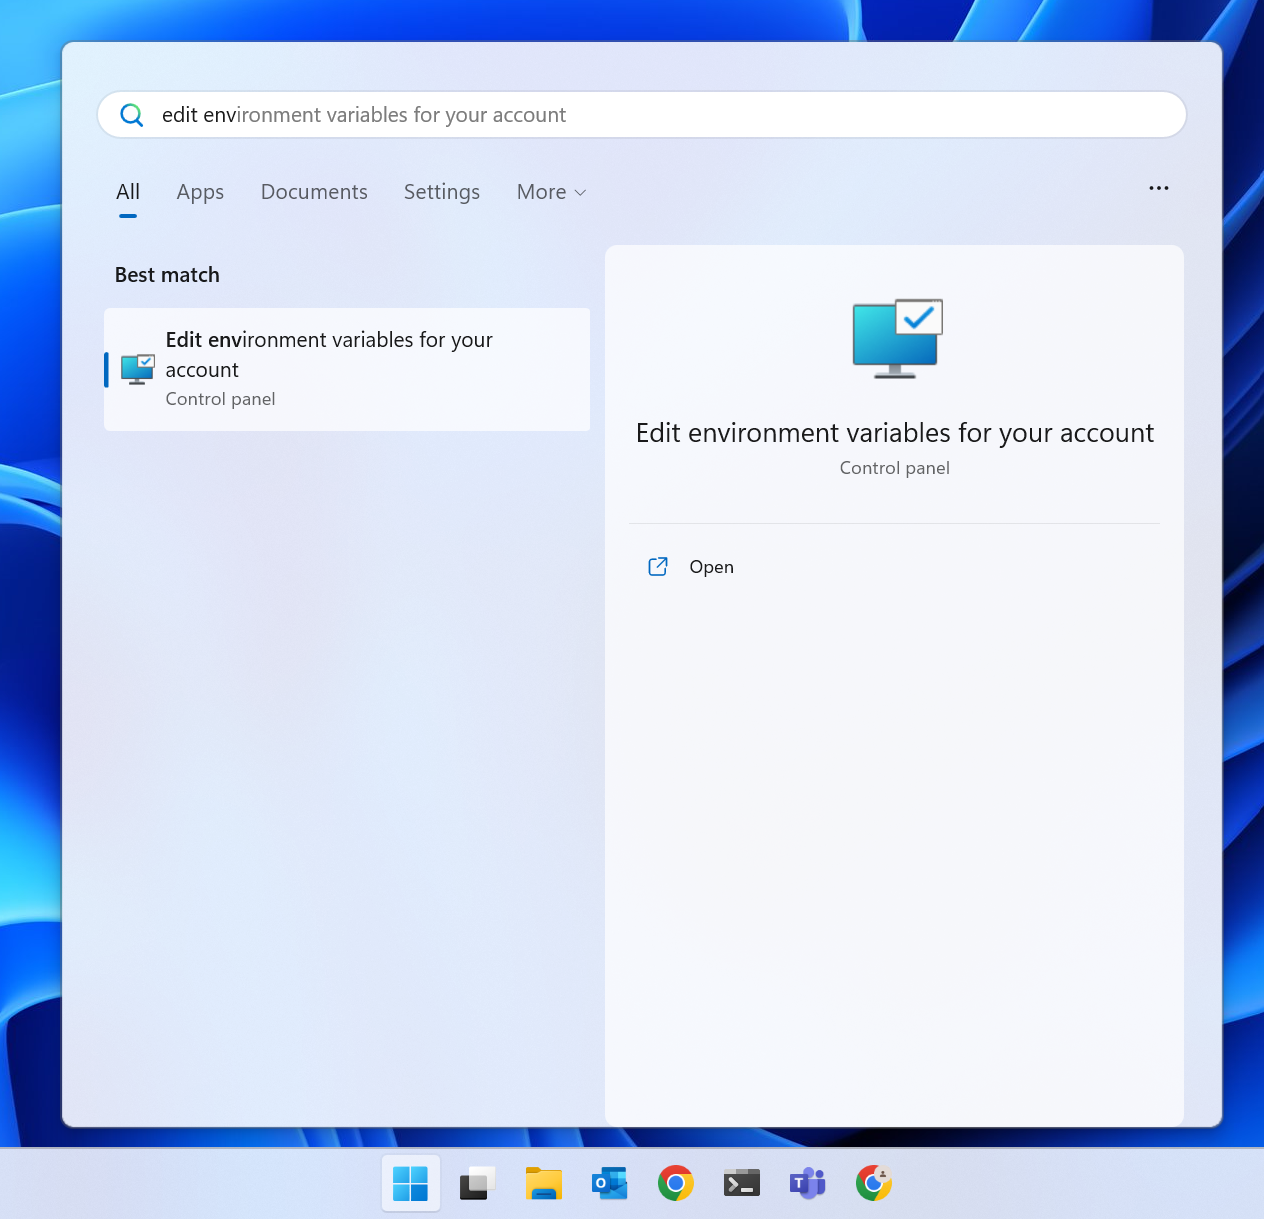
You should set your JAVA_HOME environment variable to the path where you extracted the zip. You can do this by clicking Start, typing edit env and choosing the Edit environment variables for your account option:
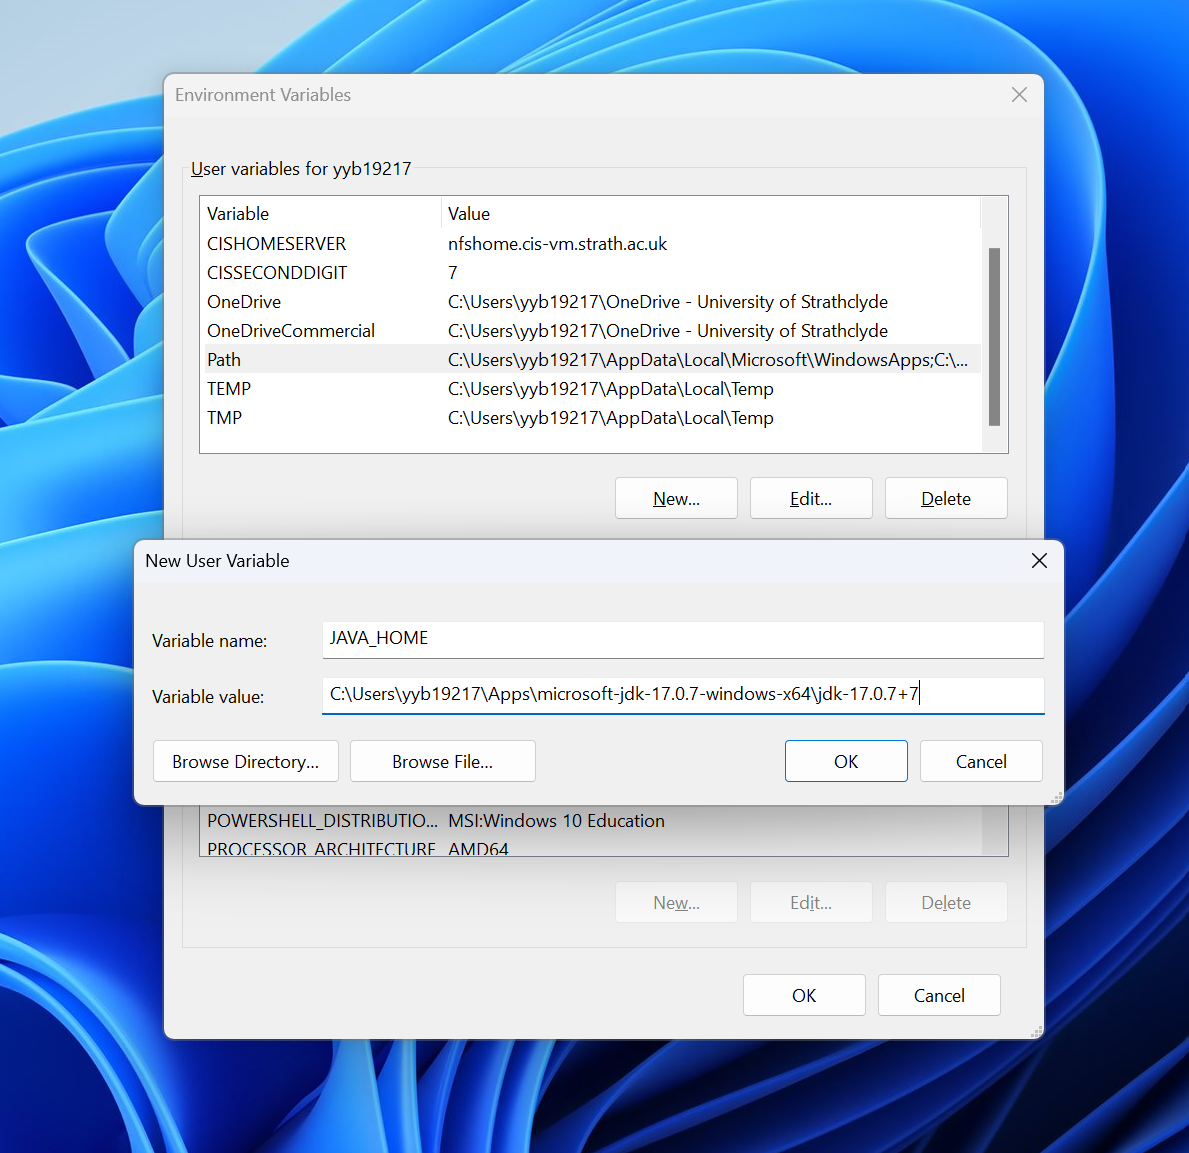
In the top section (User variables), click New... and enter JAVA_HOME as the variable name. The variable value should be the path where you extracted the zip file, e.g. C:\Users\yyb19217\Apps\microsoft-jdk-17.0.7-windows-x64\jdk-17.0.7+7 (this should be the folder which contains the bin subfolder):
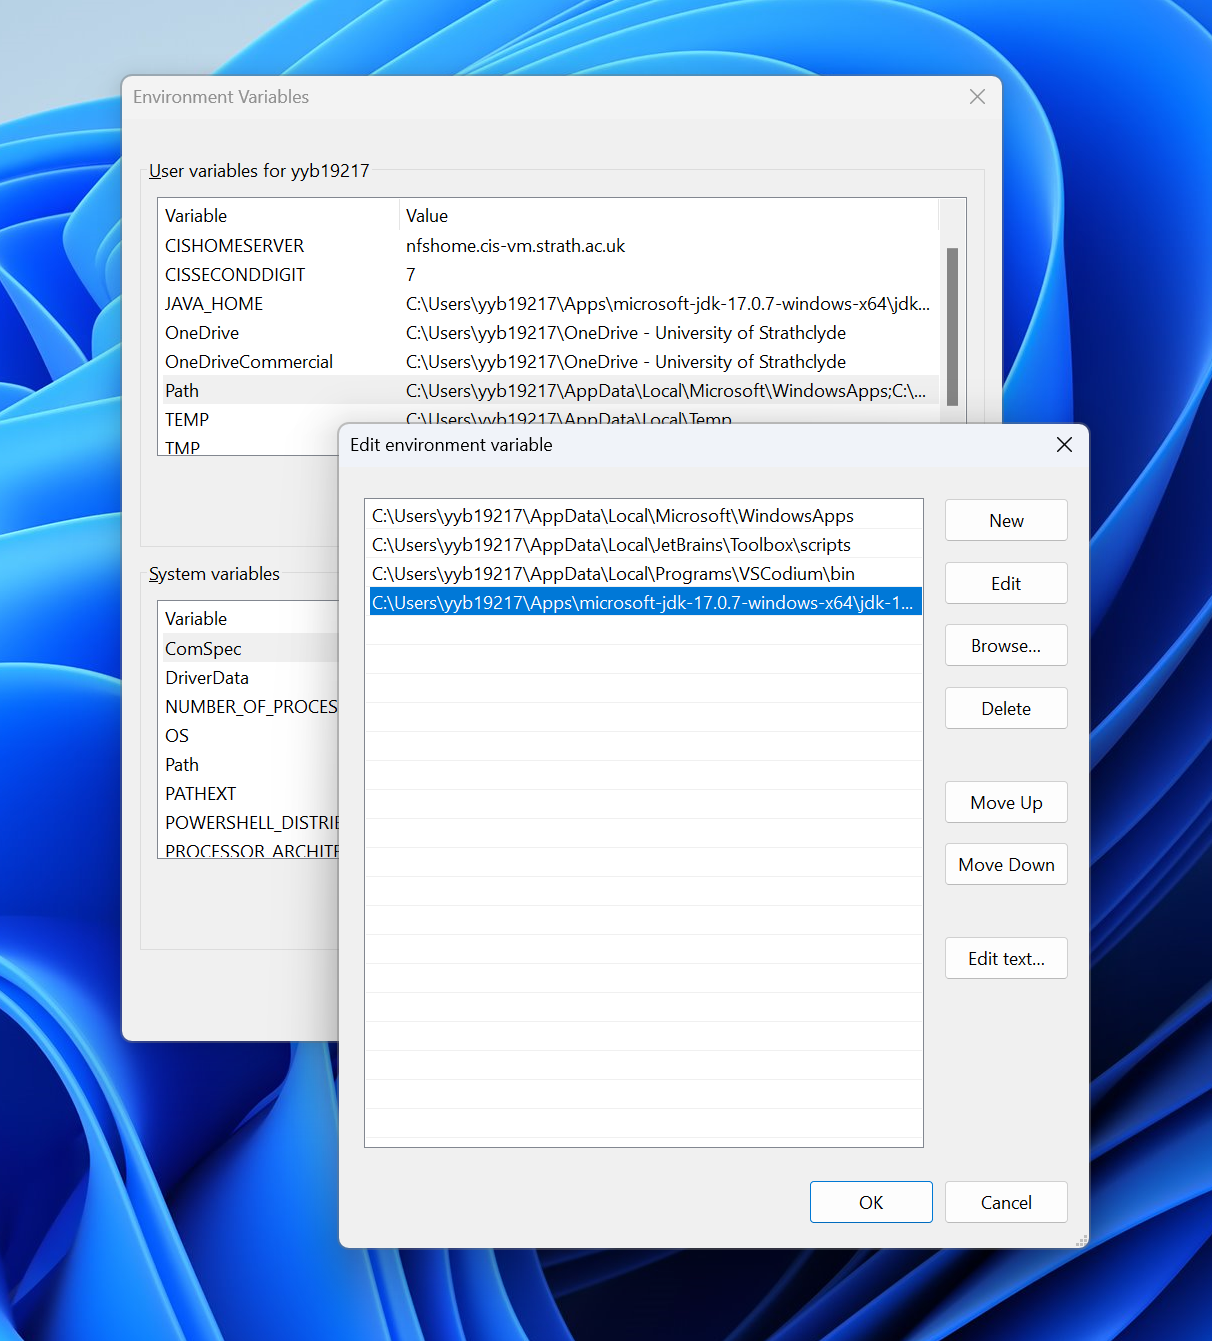
You should also add the bin subfolder to your PATH environment variable. This will allow you to run javac from the command prompt without specifying the full path to your extracted zip. To do this, find the Path variable in the User variables section at the top and click Edit.... The click New button and enter the path of your extracted zip, adding on \bin at the end:
Anaconda #
You can download Anaconda from the Anaconda website. The Anaconda installer has a just me option to install to your own profile directory.
VLC #
VLC can be downloaded from the VLC website.
Download the zip package by clicking the down arrow next to the Download VLC button and choosing Zip package. Extract the package somewhere in your profile folder (e.g. C:\Users\yyb19217\Apps\VLC\).
WinSCP #
WinSCP can be downloaded from the WinSCP website.
Choose the Portable executables package and extract it somewhere in your profile folder (e.g. C:\Users\yyb19217\Apps\WinSCP\).
Dropbox #
Dropbox can be downloaded from the Dropbox website. Choose No at the UAC prompt, then choose Yes at the prompt to install without admin rights.
MiKTeX #
You can download MiKTeX from the MiKTeX website. The installer has an Install MiKTeX only for me option to install to your own profile directory.
Android Studio #
Android Studio can be downloaded from the Android website. The Windows installer requires admin rights, but the zip package can be used without admin rights. Scroll down to the Android Studio downloads section near the bottom of the page and choose the Windows zip file to download. Extract it somewhere sensible (e.g. C:\Users\yyb19217\Apps\) and run bin\studio64.exe. When going through the first-run wizard, you might see two UAC prompts (one for Intel HAXM and another for the emulator hypervisor driver) - you can click No on each and proceed to setup anyway.